Step-by-Step Guide to Low Voltage Cable Joint Installation
 2024-11-06 09:06:58
View:389
2024-11-06 09:06:58
View:389Low voltage cable joints play a crucial role in electrical systems, enabling secure connections between cables and ensuring efficient power distribution. Whether you're a seasoned electrician or a DIY enthusiast, understanding the proper installation process of low voltage cable joints is essential for maintaining safe and reliable electrical networks. This comprehensive guide will walk you through the intricacies of low voltage cable joint installation, providing valuable insights and expert tips to help you master this critical skill.
Preparing for Low Voltage Cable Joint Installation
Before diving into the installation process, it's crucial to adequately prepare for the task at hand. Proper preparation ensures a smooth and efficient installation while minimizing the risk of errors or safety hazards. Here are some essential steps to take when preparing for low voltage cable joint installation:
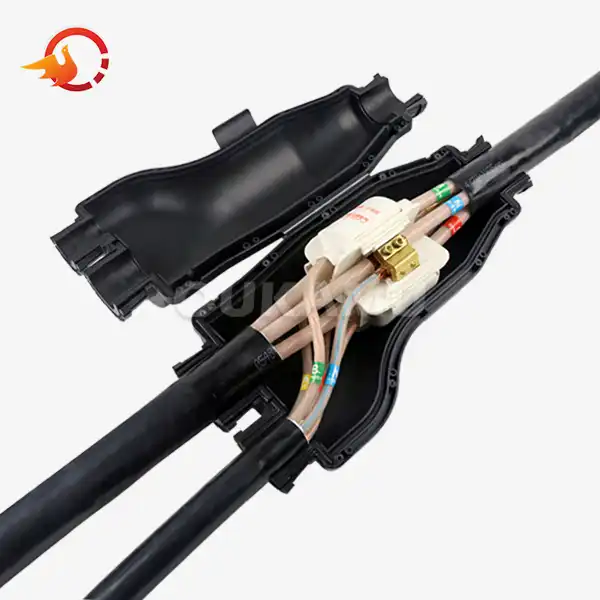
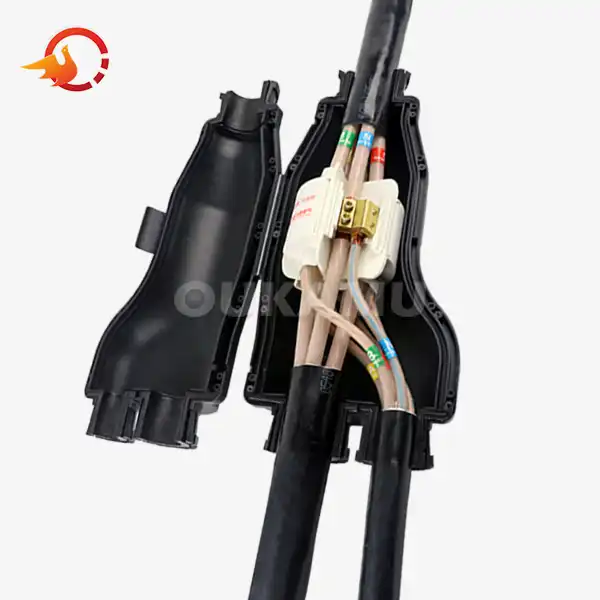
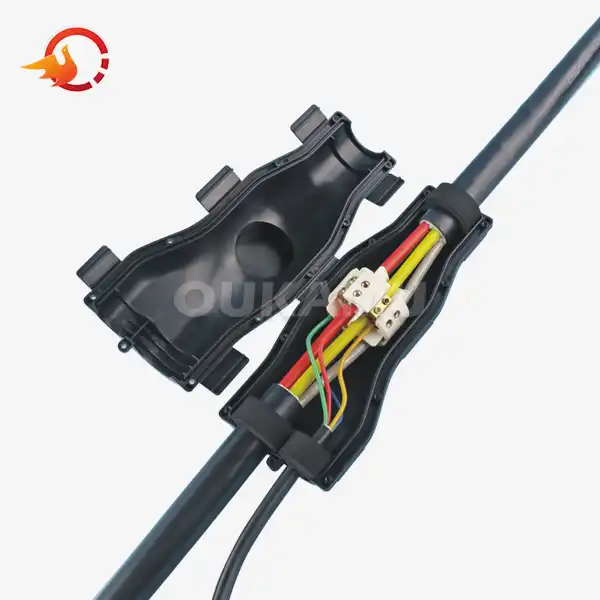
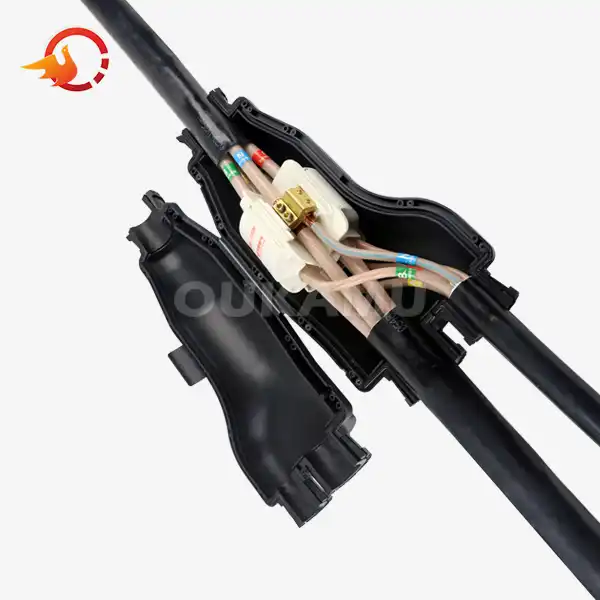
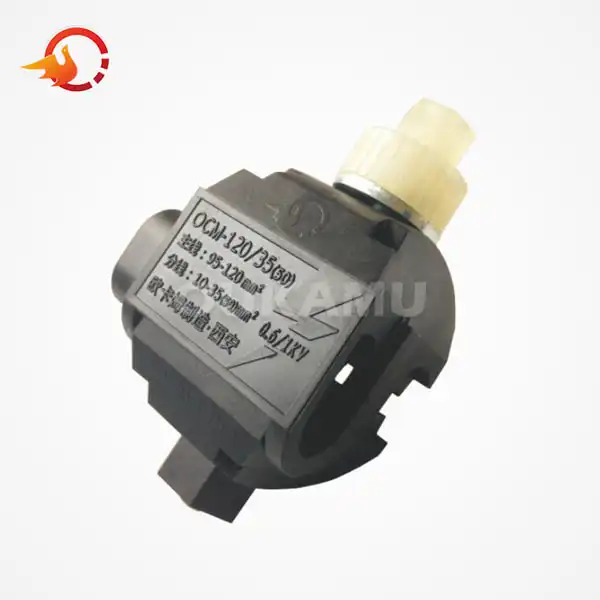
First and foremost, gather all the necessary tools and materials. This typically includes the low voltage cable joint kit, cable strippers, crimping tools, insulation tape, and a multimeter. Ensure that you have the correct joint kit for your specific cable type and size. Our integrated T-terminal, for instance, is designed for low-voltage flame-retardant, fire-resistant, and mineral insulated fire-resistant cable branch connections.
Next, carefully inspect the work area. Ensure that the environment is clean, dry, and well-lit. Remove any potential hazards or obstructions that could interfere with the installation process. If you're working outdoors, consider setting up a temporary shelter to protect the work area from the elements.
Before beginning the installation, it's crucial to de-energize the circuit and verify that it's safe to work on. Use a voltage tester to confirm that there's no live current in the cables you'll be working with. Always prioritize safety and follow proper lockout/tagout procedures to prevent accidental re-energization of the circuit during installation.
Lastly, familiarize yourself with the specific installation instructions provided by the manufacturer. While this guide offers general steps, it's essential to adhere to the manufacturer's guidelines for your particular low voltage cable joint product to ensure optimal performance and safety.
Step-by-Step Low Voltage Cable Joint Installation Process
Now that you're well-prepared, let's delve into the step-by-step process of installing a low voltage cable joint. This guide focuses on the installation of our innovative integrated T-terminal, which offers unique advantages such as the ability to connect branch cables without cutting the trunk cable.
Begin by carefully measuring and marking the section of the trunk cable where you'll install the joint. Our integrated T-terminal allows for branch connection at any position along the trunk cable, offering flexibility in your installation design.
Next, prepare the low voltage cable joints for connection. For the trunk cable, you don't need to cut it, which is a significant advantage of our integrated T-terminal. Instead, carefully strip the outer insulation and inner conductors according to the manufacturer's specifications. For the branch cable, strip the ends to the appropriate length, ensuring clean and even cuts.
Now, it's time to install the integrated T-terminal body. This flame-retardant and fire-resistant insulated component serves as the foundation for your cable joint. Position it correctly on the trunk cable, ensuring it's centered on your marked section.
With the T-terminal body in place, you can now connect the conductors. Our double U-shaped tapping terminal design allows for easy and secure connections. Place the stripped section of the trunk conductor in the trunk U groove and the branch conductor in the branch U groove. Use the appropriate crimping tool to compress and secure the connection.
After connecting all conductors, carefully inspect each connection to ensure they're tight and secure. Use a multimeter to test for continuity and proper insulation resistance.
The final step involves sealing and insulating the joint. Our integrated T-terminal design incorporates comprehensive insulation and sealing features, providing protection against dust, water, and environmental factors. Ensure all components are properly aligned and sealed according to the manufacturer's instructions.
Post-Installation Checks and Maintenance of Low Voltage Cable Joints
After completing the installation of your low voltage cable joint, it's crucial to perform thorough post-installation checks to ensure everything is functioning correctly and safely. These checks help identify any potential issues early on, preventing future complications and ensuring the longevity of your electrical system.
Start by visually inspecting the entire joint assembly. Look for any signs of damage, loose connections, or improper sealing. Ensure that all components are correctly aligned and that there are no exposed conductors or sharp edges that could pose a safety hazard.
Next, use a multimeter to perform electrical tests on the joint. Check for proper continuity across the joint and verify that there's no unexpected resistance. Measure the insulation resistance to ensure that the joint is adequately insulated and there are no potential short circuits.
Once you're satisfied with the installation and initial tests, it's time to re-energize the circuit. Do this gradually, monitoring for any signs of overheating, unusual noises, or other anomalies. If you notice anything concerning, immediately de-energize the circuit and investigate the issue.
Regular maintenance is key to ensuring the long-term performance and safety of your low voltage cable joints. Schedule periodic inspections to check for signs of wear, corrosion, or environmental damage. Our integrated T-terminal design is built for durability and longevity, but regular check-ups can help catch any potential issues before they become serious problems.
Keep detailed records of your installations, including the date of installation, type of joint used, and any maintenance performed. This documentation can be invaluable for troubleshooting and planning future upgrades or replacements.
Conclusion
In conclusion, proper installation and maintenance of low voltage cable joints are crucial for ensuring the safety, reliability, and efficiency of electrical systems. With 17 years of experience in the industry, we're committed to delivering safe, reliable, and cost-effective products that meet the highest standards of quality and performance. By following this comprehensive guide and leveraging innovative products like our integrated T-terminal, you can achieve superior results in your cable jointing projects. Remember, if you need further assistance or have questions about our low voltage cable joint solutions, our team at Xi'an Oukamu Electric Co., Ltd. is always here to help. Reach out to us at info@okmbranchcable.com for expert advice and support.
References
1. Electrical Installation Guide: Principles and Practices by John Whitfield
2. Cable Jointing Techniques: A Comprehensive Manual by David Trout
3. Low Voltage Cable Termination and Jointing: Best Practices and Procedures by Robert Smith
4. Electrical Wiring: Commercial by Ray C. Mullin and Phil Simmons
5. The Electrician's Guide to the 17th Edition of the IET Wiring Regulations by John Whitfield


