
How to Properly Install a Low Voltage Cable Joint: Step-by-Step Instructions


 2025-01-06 09:30:45
View:389
2025-01-06 09:30:45
View:389Installing a low voltage cable joint is a critical task that requires precision and expertise. Whether you're a seasoned electrician or a DIY enthusiast, understanding the proper installation process is crucial for ensuring safety and optimal performance. In this comprehensive guide, we'll walk you through the step-by-step instructions for installing a low voltage cable joint, providing you with the knowledge and confidence to tackle this important electrical task.
Grasping Low Voltage Cable Joints
Before diving into the installation process, it's essential to grasp the fundamentals of low voltage cable joints. These specialized connectors are designed to join two or more low voltage cables, typically operating at voltages below 1000V. They play a vital role in maintaining electrical continuity, providing insulation, and protecting against environmental factors.
Low voltage cable joints come in various types, including straight joints, branch joints, and transition joints. Each type serves a specific purpose, but they all share the common goal of ensuring a secure and reliable connection between cables. The choice of joint depends on factors such as cable type, installation environment, and specific project requirements.
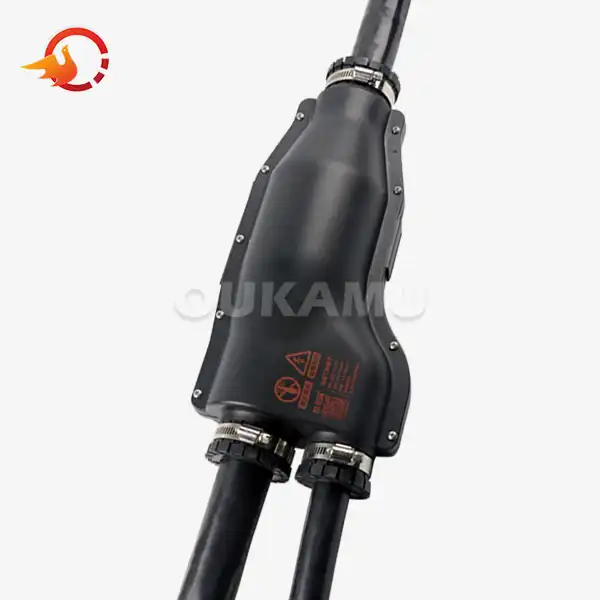
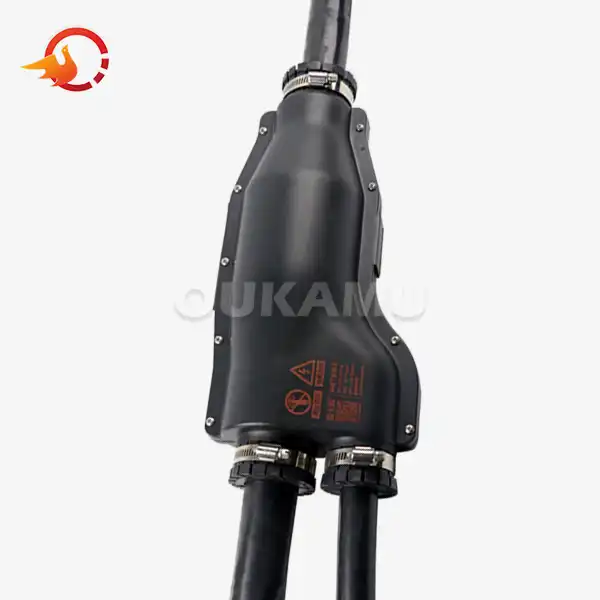
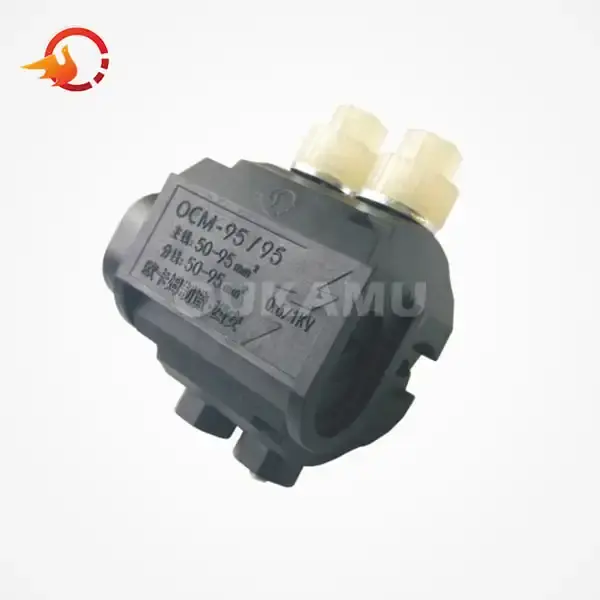
One innovative solution in the realm of low voltage cable joints is the T-Type Terminal, which offers numerous advantages over traditional prefabricated branch cables. These terminals allow for on-site installation and branch connection at any position, providing enhanced flexibility and convenience. Their integrated design ensures safety, reliability, and aesthetic appeal, while also offering a compact structure suitable for both open installations and bridge applications.
Preparing for Low Voltage Cable Joint Installation
Proper preparation is key to a successful low voltage cable joint installation. Begin by gathering all necessary tools and materials, including the cable joint kit, cable cutters, stripping tools, crimping tools, and appropriate personal protective equipment (PPE). Next, carefully inspect the cables to be joined, ensuring they are undamaged and of the correct type and size for the joint. Clean the cable ends thoroughly, removing any dirt, debris, or moisture that could compromise the connection.
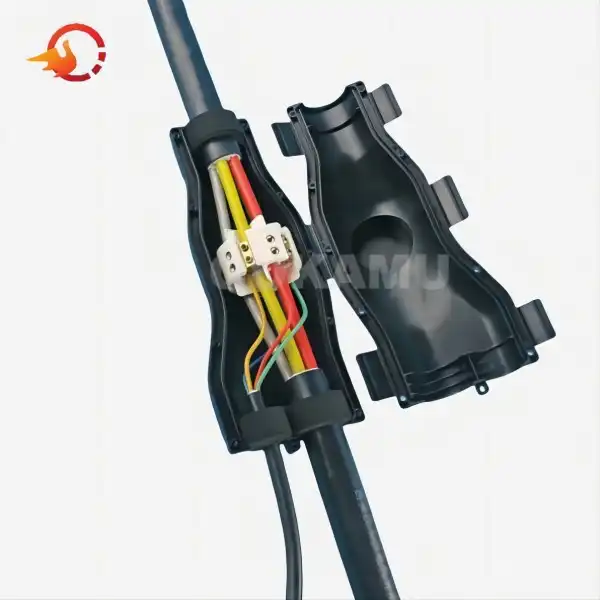
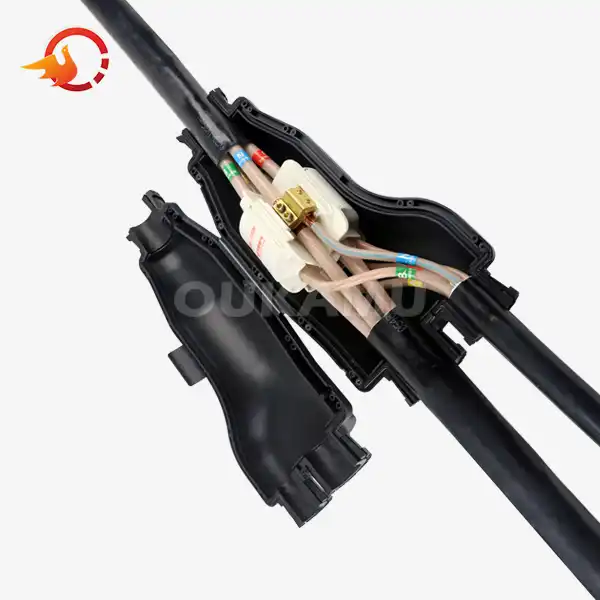
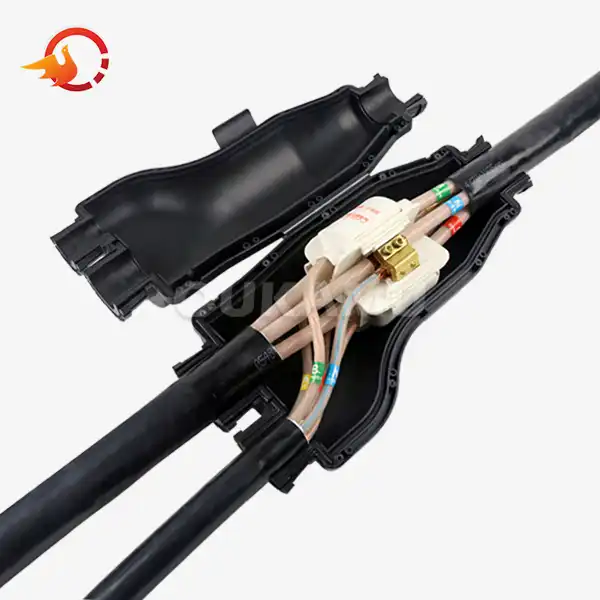
Before proceeding, it's crucial to de-energize the cables and verify that they are not live. Use a voltage tester to confirm the absence of electrical current, and follow proper lockout/tagout procedures to prevent accidental re-energization during the installation process. When working with T-Type Terminals, one significant advantage is that the trunk cable doesn't need to be cut off. This feature not only saves time and materials but also maintains the integrity of the main cable run.
Step-by-Step Low Voltage Cable Joint Installation
Now that you're prepared, let's delve into the step-by-step process of installing a low voltage cable joint:
1. Measure and mark: Accurately measure and mark the cables for stripping, ensuring you have the correct length of exposed conductor for the joint.
2. Strip the cables: Carefully remove the outer sheath and insulation from the marked sections of the cables, taking care not to damage the conductors.
3. Clean and prepare conductors: Thoroughly clean the exposed conductors and apply any necessary conductive paste or compound to enhance the electrical connection.
4. Position the joint: Align the cables and position the joint body, ensuring a proper fit and alignment of all components.
5. Connect conductors: Join the conductors using the appropriate method for your joint type, such as crimping, bolting, or compression. For T-Type Terminals, the same-phase trunk conductor and branch conductor are clamped in the trunk U groove and branch U groove of the double U-shaped tapping terminal for a secure compression connection.
6. Apply insulation: Install any required insulation materials, such as heat-shrink tubing or tape, to provide adequate electrical insulation and protection.
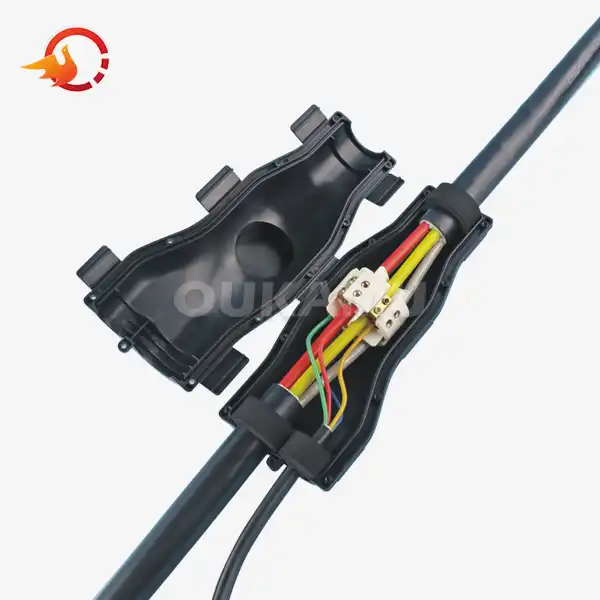
7. Secure and seal: Firmly secure all components of the joint and apply any necessary sealants or compounds to ensure a watertight and dustproof seal.
8. Test the connection: Once the joint is fully assembled, perform continuity and insulation resistance tests to verify the integrity of the connection.
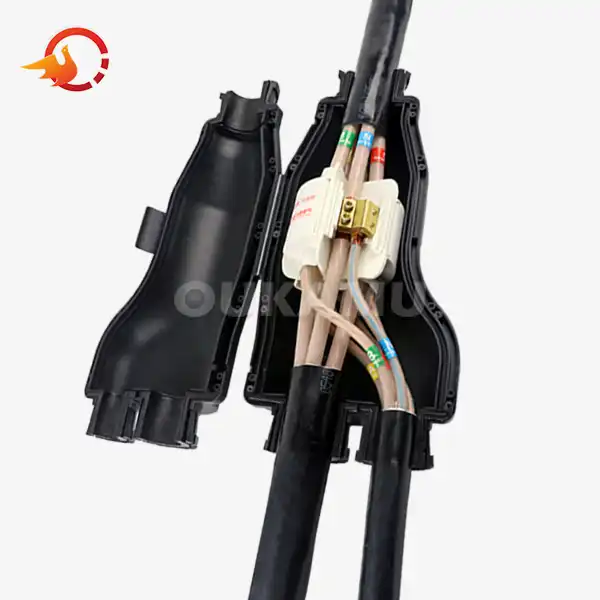
When working with T-Type Terminals, the installation process benefits from their integrated design. The trunk cable and branch cable are connected on a flame-retardant or fire-resistant insulated integrated T-terminal body, ensuring a secure and reliable connection. This design also facilitates convenient construction and maintenance, as the joints are reusable and can be easily accessed for future modifications or repairs.
Moreover, the T-Type Terminal's compact structure and small size make it versatile for various installation scenarios, whether installed openly or within confined spaces like bridges. This flexibility, combined with its insulation properties and resistance to flame, fire, dust, water, aging, and electrochemical corrosion, makes it an excellent choice for a wide range of low voltage cable joint applications.
Post-Installation Considerations
After completing the installation of your low voltage cable joint, there are several important considerations to keep in mind:
- Documentation: Maintain detailed records of the installation, including the type of joint used, date of installation, and any specific notes or observations.
- Labeling: Clearly label the joint and surrounding area to indicate its presence and any relevant safety information.
- Periodic inspection: Schedule regular inspections of the joint to check for signs of deterioration, moisture ingress, or other potential issues.
- Maintenance: Perform any necessary maintenance as recommended by the joint manufacturer to ensure long-term reliability and performance.
Conclusion
Installing a low voltage cable joint is a crucial task that demands attention to detail and adherence to best practices. By following the step-by-step instructions outlined in this guide and considering innovative solutions like T-Type Terminals, you can ensure a safe, reliable, and efficient connection in your low voltage electrical system.
For more information about cable connection products, including innovative solutions like T-Type Terminals, feel free to contact us at info@okmbranchcable.com. Our team of experts is ready to assist you in finding the perfect solution for your low voltage cable joint needs, ensuring optimal performance, safety, and cost-effectiveness in your electrical projects.
References
1. National Electrical Code (NEC) - NFPA 70
2. IEEE Std 404-2012 - IEEE Standard for Extruded and Laminated Dielectric Shielded Cable Joints Rated 2.5 kV to 500 kV
3. IEC 60502-4:2010 - Power cables with extruded insulation and their accessories for rated voltages from 1 kV (Um = 1,2 kV) up to 30 kV (Um = 36 kV) - Part 4: Test requirements on accessories for cables with rated voltages from 6 kV (Um = 7,2 kV) up to 30 kV (Um = 36 kV)
4. ASTM D3032 - Standard Test Methods for Hookup Wire Insulation
5. BS 7671:2018 - Requirements for Electrical Installations. IET Wiring Regulations