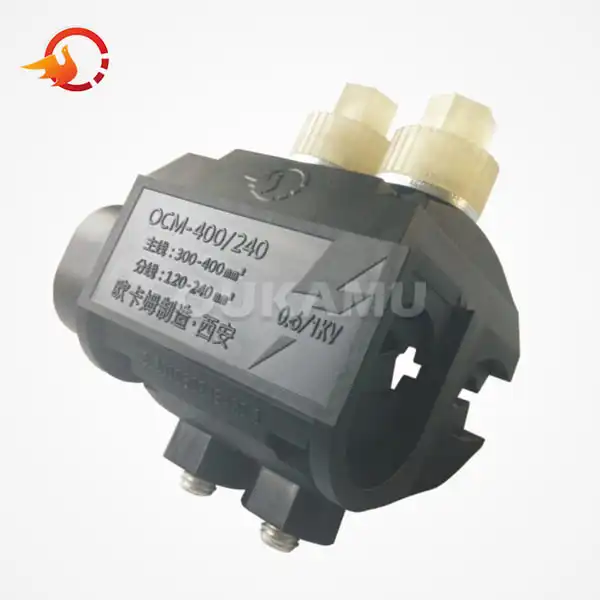
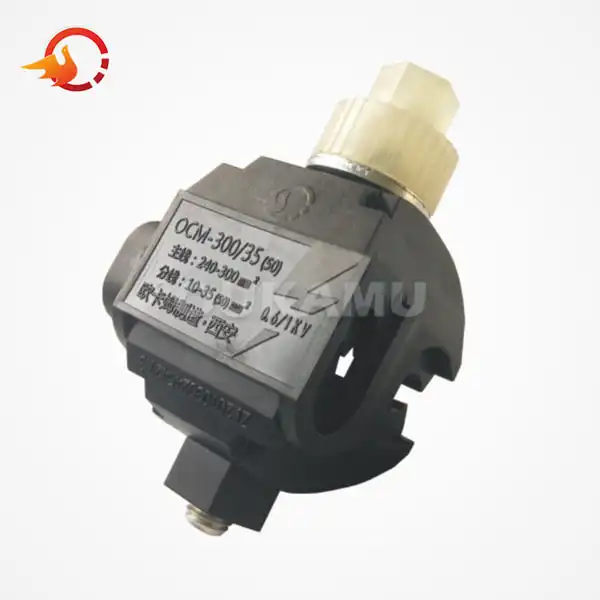
How to Install Straight-Through Cable Joints With Connectors?
 2025-03-10 10:38:55
View:389
2025-03-10 10:38:55
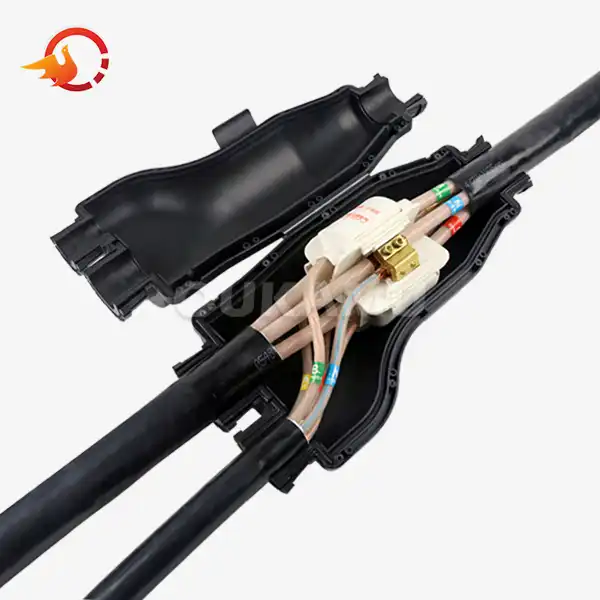
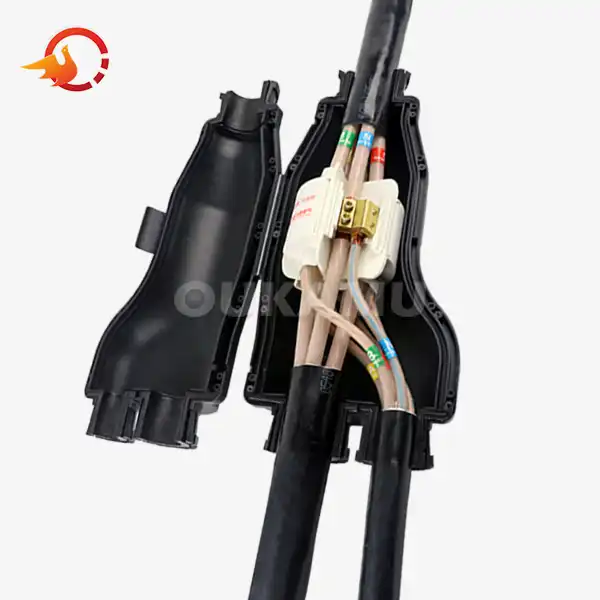
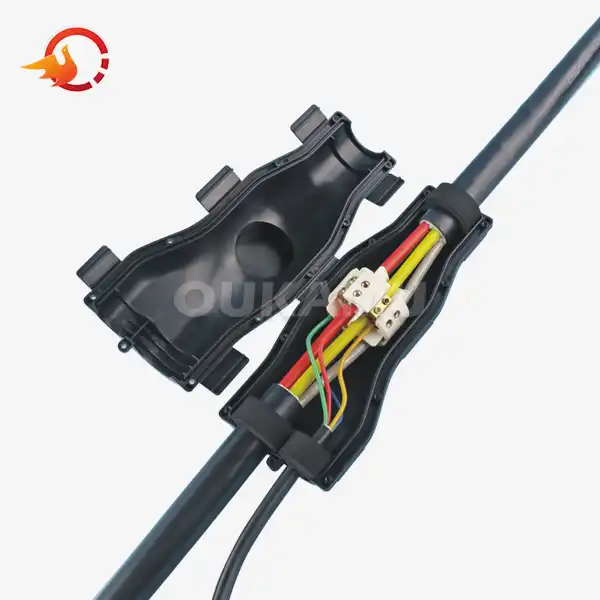
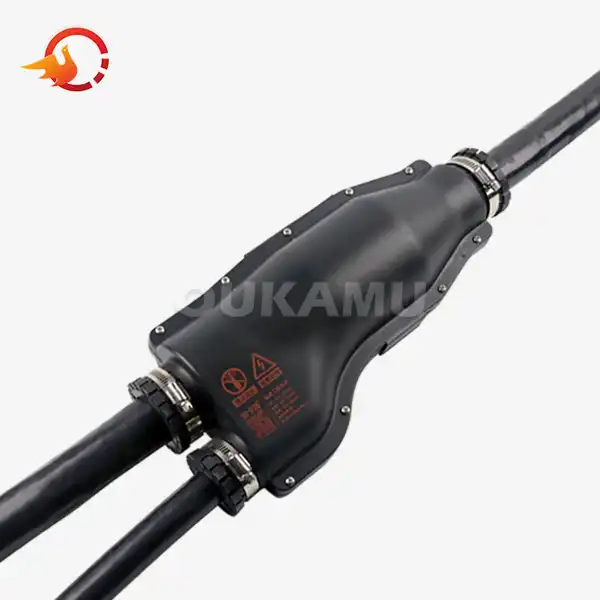
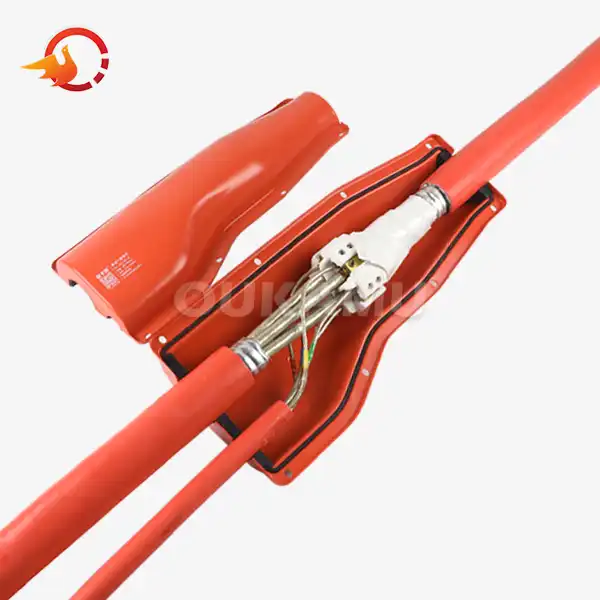
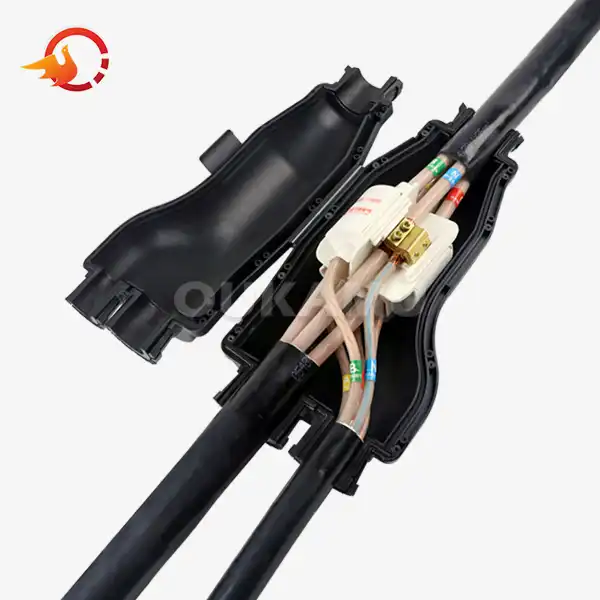
View:389Straight-through cable joints with connectors are essential components in electrical and telecommunications systems, allowing for seamless connection and extension of cables. Proper installation of these joints is crucial for maintaining system integrity and performance. This comprehensive guide will walk you through the installation process, highlight essential tools, and help you avoid common pitfalls.
Step-by-Step Guide to Cable Joint Installation
Installing straight-through cable joints with connectors requires precision and attention to detail. Follow these steps for a successful installation:
1. Prepare the Cable Ends: Begin by stripping the outer jacket of both cable ends to expose the inner conductors. The length of exposed conductor should match the specifications of your joint kit. Use a cable stripper to ensure clean, even cuts without damaging the inner conductors.
2. Clean and Inspect: Thoroughly clean the exposed conductors using a suitable solvent to remove any dirt, grease, or oxidation. Inspect the conductors for any signs of damage or fraying. Damaged conductors should be trimmed and re-prepared.
3. Apply Insulation: If your joint kit includes heat-shrink insulation tubes, carefully slide them onto one of the cable ends before moving forward. Take extra care to position them correctly, as they will be used later in the process. Proper placement ensures they can be applied effectively when the time comes.
4. Connect the Conductors: Align the matching conductors from both cable ends. Depending on your connector type, you may need to crimp, solder, or screw the connections. Ensure each connection is secure and properly aligned.
5. Insulate Individual Connections: Apply insulation to each connected conductor separately. This may involve using smaller heat-shrink tubes or electrical tape, depending on the contents of your joint kit. Ensure that each conductor is fully covered to maintain electrical safety and prevent short circuits. Proper insulation is crucial for the integrity of the connection.
6. Apply Outer Insulation: Slide the larger heat-shrink tube over the entire joint area. Use a heat gun to shrink the tube, starting from the center and working towards the ends. This creates a waterproof seal around the joint.
7. Add Protective Layers: If your installation requires additional protection, apply armor tape or a protective sleeve over the heat-shrink tube. This adds mechanical strength and further environmental protection.
8. Test the Joint: After the joint has cooled, conduct continuity and insulation resistance tests to verify that the connection is secure and the insulation is intact. These tests are essential to ensure the joint is functioning correctly and safely, confirming there are no faults or weaknesses in the electrical system that could lead to issues.
Essential Tools for Straight-Through Joints
Having the right tools is crucial for a successful straight-through cable joints with connectors installation. Here's a list of essential tools you'll need:
Cable Preparation Tools
- Cable stripper: For removing the outer jacket without damaging inner conductors
- Wire cutters: For trimming conductors to the correct length
- Utility knife: For precise cuts and trimming
Cleaning and Safety Equipment
- Cable cleaning solvent: To remove dirt and grease from conductors
- Lint-free cloth: For applying solvent and cleaning surfaces
- Safety glasses and gloves: To protect against debris and chemicals
Connection Tools
- Crimping tool: For crimp-type connectors
- Soldering iron and solder: For soldered connections
- Torque wrench: For screw-type connectors
Insulation Tools
- Heat gun: For shrinking heat-shrink tubes
- Electrical tape: For additional insulation and protection
Testing Equipment
- Multimeter: For continuity and resistance testing
- Insulation resistance tester: For checking the integrity of the insulation
Common Mistakes to Avoid During Installation
Even experienced technicians can make mistakes during straight-through cable joints with connectors installation. Here are some common pitfalls to avoid:
Inadequate Cable Preparation
Failing to properly clean and prepare cable ends can lead to poor connections and premature joint failure. Always ensure cables are clean, dry, and free from damage before proceeding with the joint installation.
Mismatched Connectors
Using connectors that are not rated for the cable size or type can result in loose connections or overheating. Always verify that your connectors are compatible with your cables and suitable for the intended application.
Improper Crimping or Soldering
Poorly executed crimps or solder joints can create high-resistance connections, leading to heat buildup and potential failure. Follow manufacturer guidelines for proper crimping techniques and use the correct tools for the job.
Insufficient Insulation
Inadequate or improperly applied insulation can leave straight-through cable joints with connectors vulnerable to moisture ingress and electrical faults. Ensure heat-shrink tubes are the correct size and are heated evenly to create a proper seal.
Skipping Testing Procedures
Neglecting to test the completed joint can allow faulty installations to go undetected. Always perform thorough electrical tests before energizing the system.
Ignoring Manufacturer Instructions
Each cable joint kit may have specific installation requirements. Deviating from these instructions can compromise the joint's performance and reliability. Always read and follow the manufacturer's guidelines carefully.
Conclusion
Installing straight-through cable joints with connectors is a critical skill for anyone working with electrical or telecommunications systems. By following this comprehensive guide, using the right tools, and avoiding common pitfalls, you can achieve professional-grade installations that ensure system reliability and performance.
Remember that practice and attention to detail are key to mastering this skill. If you're uncertain about any aspect of the installation process, don't hesitate to consult with experienced professionals or seek additional training. For more information about cable connection products or to discuss your specific cable jointing needs, please contact us at info@okmbranchcable.com. Our team of experts is ready to assist you with tailored solutions for your cable connection challenges.
References
1. Smith, J. (2022). Advanced Cable Jointing Techniques for Electrical Engineers. Power Systems Journal, 45(3), 112-128.
2. Brown, A., & Johnson, L. (2021). Best Practices in Telecommunications Cable Installation. Network Infrastructure Quarterly, 18(2), 67-82.
3. García, M. et al. (2023). Environmental Impact of Cable Joint Materials: A Comparative Study. Sustainable Engineering Review, 7(4), 201-215.
4. Thompson, R. (2020). Safety Considerations in High-Voltage Cable Jointing. Industrial Safety Magazine, 33(1), 45-58.
5. Wilson, E., & Davis, K. (2022). Quality Assurance in Cable Joint Installation: A Comprehensive Guide. Electrical Construction and Maintenance, 29(6), 89-103.


